Transform your garments with professional-level results using our DTF transfers.
Follow these steps to unlock vibrant, long-lasting prints that elevate your brand, hustle, or creative vision.
DTF Pressing Instructions
🔥 What You’ll Need 🔥
- Heat press (clamshell or swing-away recommended) but can use a household iron
- Teflon sheet or parchment paper (optional but ideal for second press)
- A clean, lint-free garment
- Dimelo 2Live DTF Transfer

STEP 1
HEAT PRESS SETTINGS
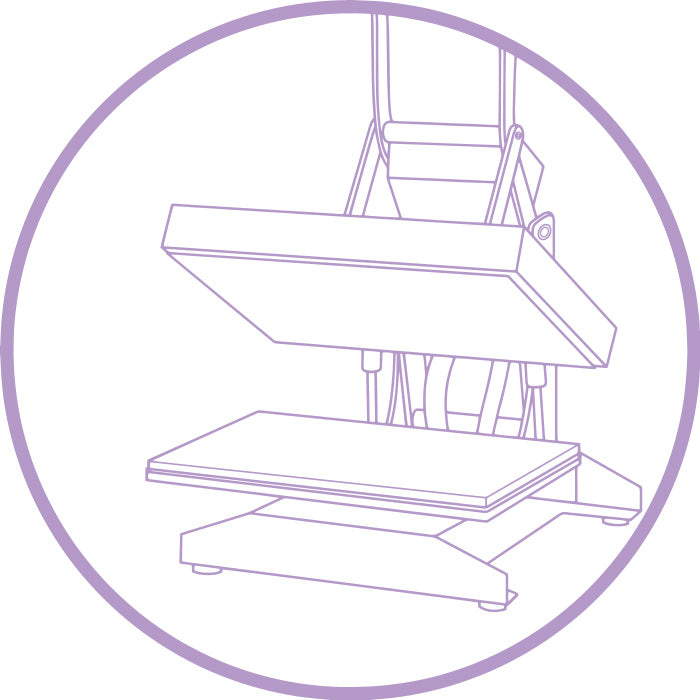
Set your heat press to the following settings:
300°F – 320°F
Pressure - Medium to Firm
Timer - 10–15 seconds
Once you have your settings Your ready to begin.

STEP 2
PREPRESS GARMENT
While this step is mostly optional you will prepress your blank garment for 5 Seconds. We have found it that it help remove moisture from the garment which helps the transfer stick and peel better.
This step is one of our most recommended in getting an amazing DTF Transfer to adhere onto the garment.

STEP 3
Positioning Transfer
You will place the cut-out DTF Transfer onto your garment at the position of your choice and place your teflon sheet on top of the transfer
Recommend: T-Shirt ruler to get standard or more accurate placement on all your transfers.

step 4
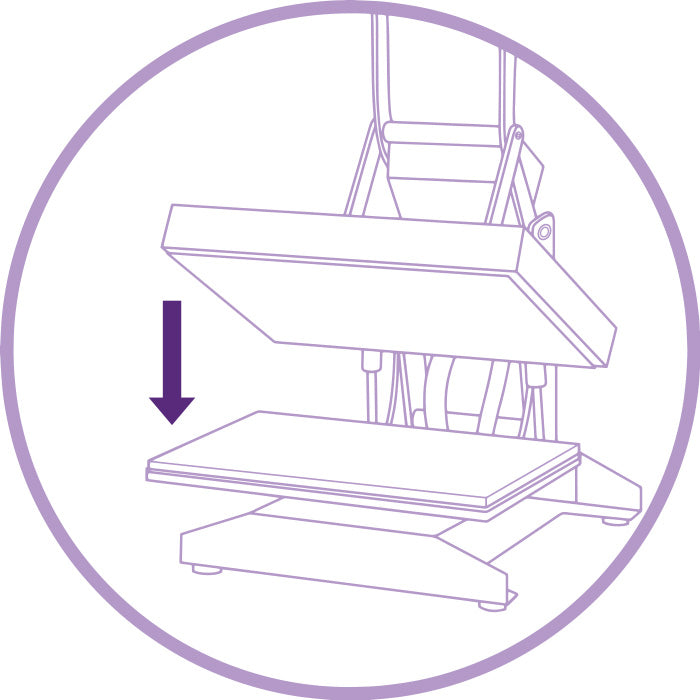
PRESSING TRANSFERS
You will now press your transfers for 10-15 seconds. Some heat presses may use less time as the pressure is automatic using an air compress.
Manual heat press usually fall between the 15 second as some press do not have a pressure gauge and requires a feel of press to determine if its set to medium.

STEP 5
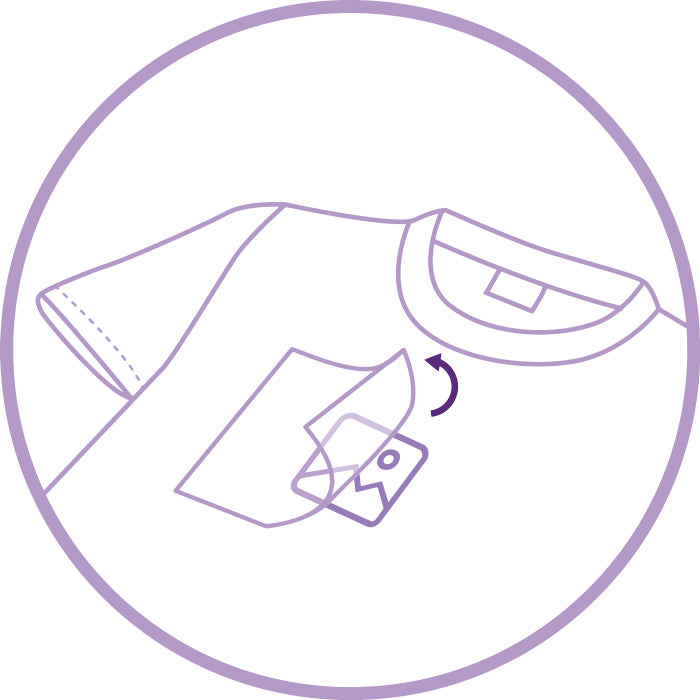
COLD PEELING
You will allow the transfer to cold off for about 30 seconds or until transfer feels cold before peeling.
Recommend: We tell customers to peel from the bottom corner on up and if there are small letters, thin lines, or shapes to peel slowly on those sections.

step 6
repress transfers
While some advertise there transfers only need one press. We have notices a major improvement in the life span of our transfers when repressed.
We have repressed our transfers for 5 seconds using a teflon to cover the transfer and have gotten more than 50+ washes. Some transfers have gone to 100 washes before noticing cracks.
Recommend: Do not use OXY Clean detergent as these will damage the transfers quickly.
SETTINGS FOR DIFFERENT FABRICS
The following chart has been very useful on getting transfers to cure better on different fabrics.
✅ Final Press (Optional)
After peeling, apply a second press with a Teflon or parchment sheet for 5 seconds. This locks in the design and gives it a matte, professional finish.
